Fixing an Uncomfortable Sandal

I have two pairs of sandals (one in black and one in brown) that I picked up inexpensively and of course I was so happy to add them to my “collection” that I didn’t walk around in them much before deciding to buy them. The first time that I wore them I found that the beautiful beading rubbed against the top of my foot and made them into “10 minute shoes”. Not what I had in mind when I purchased these.

It took me quite awhile to figure out how to fix them but once I had the idea it was pretty easy to implement. I started by placing a piece of paper onto the top of the beading and pressing the paper around the beading to give me a pattern for the moleskin lining.

creating the pattern

I then used the paper pattern to cut a piece of moleskin the same shape as the beading.

Dr. Scholl to the rescue!

I used adhesive backed moleskin and just pressed it to the back of the beading. I carefully trimmed any bits that were visible while wearing the sandal and my sandals are now so comfortable they’re “all day long shoes”. No need for an after picture unless you want to see a picture of me walking in them, which you wouldn’t have been able to see prior to this refashion because I could barely walk in them.


Scarf Doodling

I’ve been playing around with my scarf collection lately, transforming ones that I haven’t worn in awhile into new tops, ponchos, collars, belts … and I thought you all might be inspired by my latest scarf doodling.

shawl style collar

It’s a start but something needs to be done with the part hanging down in front.


crossed over to create a capelet style collar


gathered with two pins to create sleevelets and a weird thing hanging down in front

My friend G liked this one. It’s not my fave though. I think the front thingy looks like a pilgrim bib. A silk pilgrim bib, but still a bib.  So I experimented with different ways of handling that square panel hanging down in front.


crossed over and pinned to the shoulder area


pinned up the pointey thingeys to create a more rounded collar


used safety pins to ruffle the scarf along a line just north of the lengthwise half way point, then folded the ruffle over the pins to create a two layer ruffle


ruffle over just one shoulder


simple ruffle

I like this one the best I think. The idea is that this could be used to update a cardigan, either by placing it along one edge or if I had a long enough scarf do it all the way around the back of the neck and down the other side.

In the end, this scarf went back into my refashion pile, but it will sleep well knowing it performed a service to all us budding refashionistas and dream that someday it might leave the stash and become part of a fashionable ensemble once again.

Refashioned Belts

I have some belts that (sigh) no longer fit me, unless I want to turn them into ankle bracelets. I decided that it’s time to refashion them into something that I can wear now instead of dreaming of the day when they’ll once again fit around my waist. I’m a little brain dead tonight and not feeling creative but I’d still like to work with my hands. Solution? Head to the Internet for ideas.


Color Blocked  Belt

This is Kirsten wrapping her belt.


Wrap colored duct tape in sections around an old belt to create a color-blocked belt like Kristen did over at Glitter N Glue.

Leather Cuff Bracelet

This is not meant to be a biker style cuff, although if you want to use these instructions to make a biker style cuff I suppose you can use these instructions to do so. Measure the circumference of your wrist or measure an existing bracelet. Use scissors, an exacto knife or box cutter to cut a piece from your leather belt to that length. Glue a piece of elastic to the underside of the belt on both sides so that the cuff is all one piece. You can try on your cuff as soon as the glue dries.

Variations:

  • Use the instructions from the Color Blocked Belt to decorate your new cuff.
  • Use existing holes or punch holes in the leather in a line down the middle length or along the length at the top and bottom so you have two rows of holes. Weave ribbon through the holes and tie the ribbon to secure the cuff instead of using elastic.


Cuff Bracelet With Bells

Use the Leather Cuff instructions above to make your bracelet and then sew or glue bells, buttons or gems on until you have the cuff you want.


Water Bottle Wrap

Use the instructions above for Leather Cuff Bracelet to make a wrap for your water bottle.

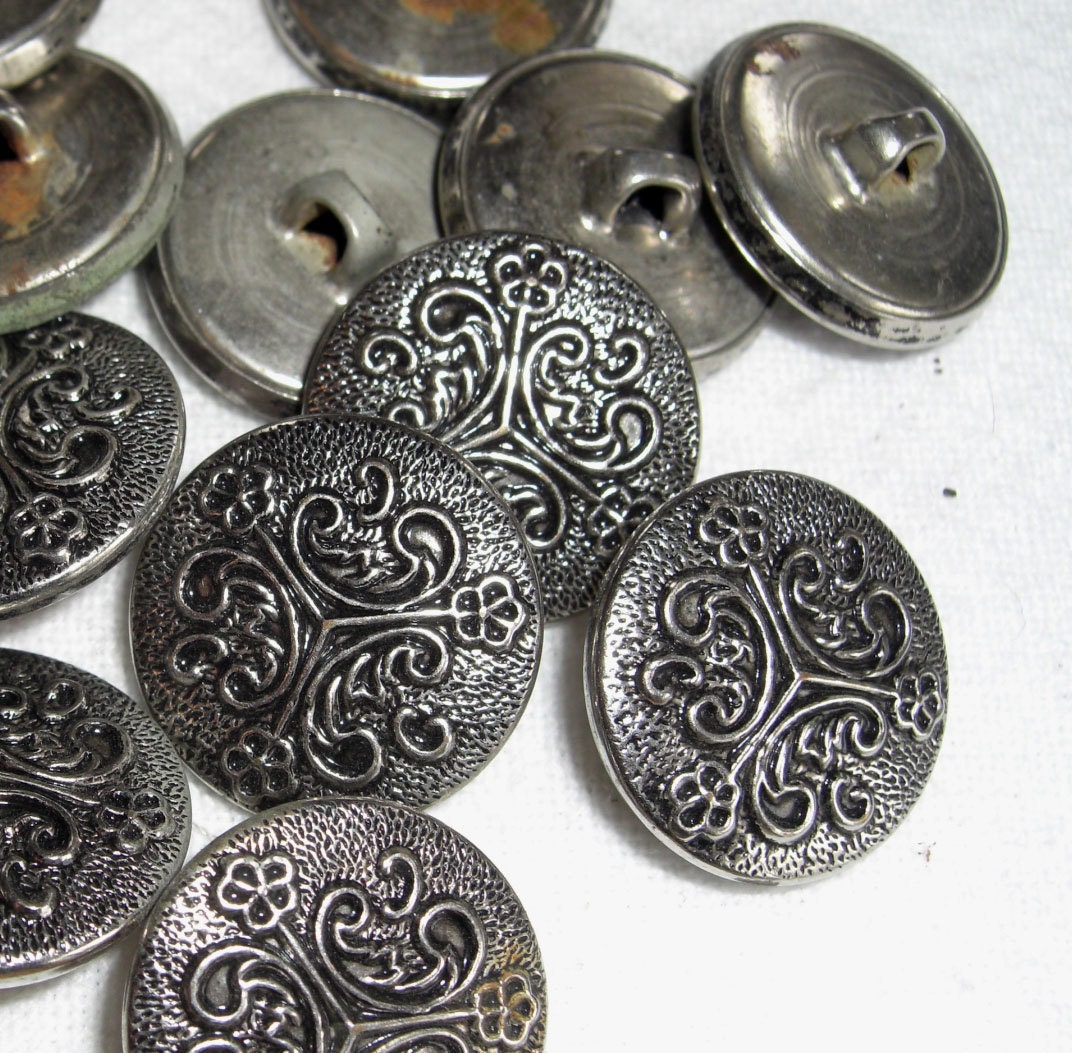
Variation: See Made By Lex’s water bottle wrap which she made from a piece of scrap leather. Her instructions can be adapted to work using an existing leather belt. I think I’ll start with the Leather Cuff Bracelet and glue on these ornate silver buttons.

I’ll start by cutting the shanks off then use my trusty E6000 to glue them to the cuff. I’ll post a pic when I’ve finished gluing.

Meanwhile – happy crafting!


Frogs Gone Wild

Remember this refashion?

Refashioned Black Cable Knit Sweater

I’m a bit ashamed to admit that I cheated on this refashion. I pinned the frogs to the sweater to take the after pic. I kept meaning to sew them on but every time that I sat down with a needle and thread I thought of all the other fabulous things that I wanted to do with these unique frogs and just couldn’t consign them to a lifetime on the front of this sweater. Then it dawned on me! I could sew a couple of brooch pins on the back of each frog and then I could use them on whatever I wanted.

Wanna see how I’m using them now?


giving new life to a too tight sweater


on denim jacket


on a wrap skirt


closing up a too low neckline


fastening a scarf


jazzing up a plain sandal


decorating a velvet headband

Now go sew a brooch pin to something fun.