RunwayDIY's Alphabet Necklace
Alphabet Jewelry
When your child grows out of the alphabet letters on the fridge stage, you’ll now have two reasons to celebrate. 1) your child is growing up and 2) you can use those letters to make a fabulous necklace or zipper pull. Check out RunwayDIY’s fabulous Alphabet Necklace for step-by-step instructions.
Variation: use this same technique to attach other small toys; think army men spray painted in a bold color or shiny metallic. Fa-a-a-a-abulou-u-u-s!
Plastic Bangles Grow Up
When your daughter grows out of her plastic bangles or you find yourself clawing your way through an entire layer of plastic bangles trying to find a pair of socks then it’s time to grow those bangles up. This project is so simple. All you need to do is wrap them in string, ribbon, lace, strips of t-shirt fabric … and suddenly those annoyingly cheap bangles looks like they came from the latest designer. Okay, maybe not THAT much of an upgrade, but certainly four steps up the fashion ladder, right?
You probably don’t need these remarkably simple instructions but just in case you’re reading this on a day when you’re brain-dead from an exhausting afternoon of chasing toddlers around the house I’ll include a step-by-step.
1. Tie or glue your chosen decorative wrap item to the inside of the bangle.
2. Wrap – and wrap – and wrap – and continue wrapping until you come back around to the start of your wrapping.
3. Tie or glue the end of the decorative wrap to the inside of the bangle.
You can leave it as is or try one of the variations below:
- Gather 4 to 8 decorative wraps and wrap the bangle in sections so that you have a striped bangle.
- String beads or charms onto the wrap as you cover the bracelet.
- After wrapping the entire bracelet wrap it again with a sheer fabric or lace.
Hair Clips
Glue broken jewelry such as a pendant, brooch or earring to a plain hair clip. If needed use a pair of jewelry cutters or raid your man’s toolbox for a similar tool to clip off any pieces on the back of the broken jewelry item that prevent it from laying flat to the hair clip. You can use these in your hair, on a pair of shoes, on a purse or as a brooch.
Variations:
- Pile on lots of broken jewelry to make a real statement piece.
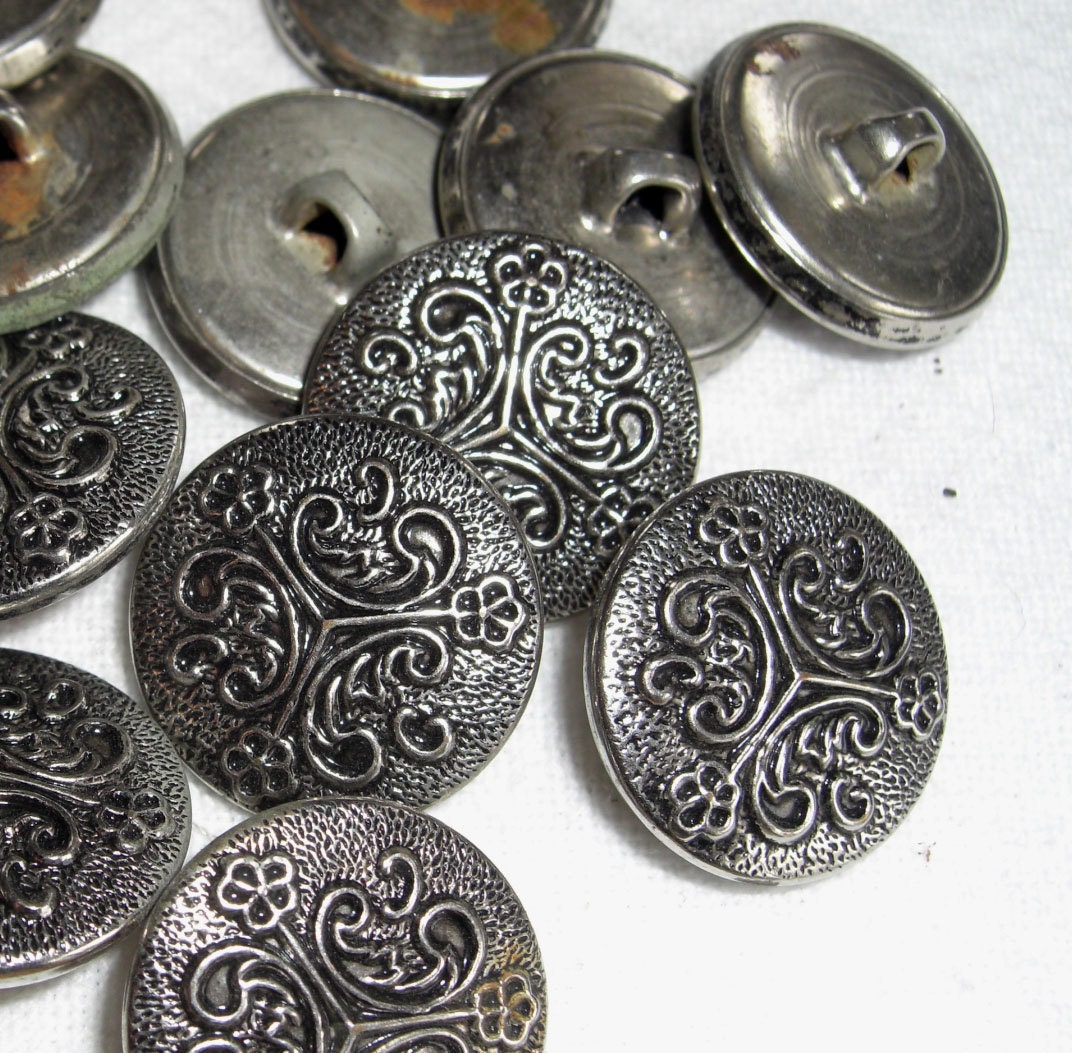
- Use buttons (clip the shank from the back) instead of jewelry.

Snips & Spice's Zipper Rose
Zipper Roses
Malory of Snips and Spice shares a tutorial to make these roses from cast-off zippers. You can attach your zipper roses to a plain hair clip, headband, brooch back or barrette.
Bullet Jewelry
Bullet jewelry? Really? It’s come to this? Well if you’re truly committed to the Reduce-Reuse-Recycle lifestyle then you’ll follow your man to the target range and collect the shells from his spent bullets. The bonus here is that you can use the shells to make some pretty cool looking jewelry. Again, it’s one of our favorite bloggers to the rescue for this DIY. Take it away RunwayDIY!
Tangled Necklace
Sometimes a couple of necklaces seems outdated, looking a little sad sitting at the bottom of your jewelry box but you hang onto them for sentimental reasons, or someone you love gave them to you and you feel guilty not wearing them, or maybe because you’re hoping they’ll come back into style. Well today’s the day! All you need to do is gather three to six necklaces that look nice together and hang them over your arm. Slip a ribbon or long piece of lace through all the necklaces and tie in a knot. Now twist the necklaces until you like what you see and slip another ribbon/lace through the other end of all the necklaces. Tie the ribbon behind your neck and you have a great new necklace that didn’t cost a penny.
Vintage Watch Bracelet
If you have a broken watch with a band that you like you can turn it into a beautiful new bracelet. Or look for watches with bands that you like at your thrift store or garage sale.
Thread a needle with heavy-duty thread in a color that closely matches your watchband or use fishing line. Thread the needle through a plain small button. Place the button on the backside of the watchband and use the needle and thread to attach buttons, pendants, broken brooches, fabric flowers … whatever you fancy to the watchband. You’re done when you like the result.
Denim Wrap Bracelet
Use the flat-fell seam from a denim refashion to create a wrap bracelet. Trim the seam so that it is of a length to wrap once, twice … six times around your wrist. Sew a cute button to one end of the seam and a button loop made from a small piece of elastic to the other end of the bracelet. Wrap and wear.
Variations:
- Sew many buttons to the bracelet.
- Sew one big fabric flower to the bracelet.


