About Kat

I started this blog to share with you all the results of years of turning trash into treasures. Hopefully I'll spark some new creative thoughts and if that happens I hope that you'll share your discoveries and together we’ll build a blog that will singlehandedly reduce global warming and save the world! Okay, maybe that’s a grand goal but we should be able to at least downsize our own trash output.

Scarf Doodling

I’ve been playing around with my scarf collection lately, transforming ones that I haven’t worn in awhile into new tops, ponchos, collars, belts … and I thought you all might be inspired by my latest scarf doodling.

shawl style collar

It’s a start but something needs to be done with the part hanging down in front.


crossed over to create a capelet style collar


gathered with two pins to create sleevelets and a weird thing hanging down in front

My friend G liked this one. It’s not my fave though. I think the front thingy looks like a pilgrim bib. A silk pilgrim bib, but still a bib.  So I experimented with different ways of handling that square panel hanging down in front.


crossed over and pinned to the shoulder area


pinned up the pointey thingeys to create a more rounded collar


used safety pins to ruffle the scarf along a line just north of the lengthwise half way point, then folded the ruffle over the pins to create a two layer ruffle


ruffle over just one shoulder


simple ruffle

I like this one the best I think. The idea is that this could be used to update a cardigan, either by placing it along one edge or if I had a long enough scarf do it all the way around the back of the neck and down the other side.

In the end, this scarf went back into my refashion pile, but it will sleep well knowing it performed a service to all us budding refashionistas and dream that someday it might leave the stash and become part of a fashionable ensemble once again.

Refashioned Belts

I have some belts that (sigh) no longer fit me, unless I want to turn them into ankle bracelets. I decided that it’s time to refashion them into something that I can wear now instead of dreaming of the day when they’ll once again fit around my waist. I’m a little brain dead tonight and not feeling creative but I’d still like to work with my hands. Solution? Head to the Internet for ideas.


Color Blocked  Belt

This is Kirsten wrapping her belt.


Wrap colored duct tape in sections around an old belt to create a color-blocked belt like Kristen did over at Glitter N Glue.

Leather Cuff Bracelet

This is not meant to be a biker style cuff, although if you want to use these instructions to make a biker style cuff I suppose you can use these instructions to do so. Measure the circumference of your wrist or measure an existing bracelet. Use scissors, an exacto knife or box cutter to cut a piece from your leather belt to that length. Glue a piece of elastic to the underside of the belt on both sides so that the cuff is all one piece. You can try on your cuff as soon as the glue dries.

Variations:

  • Use the instructions from the Color Blocked Belt to decorate your new cuff.
  • Use existing holes or punch holes in the leather in a line down the middle length or along the length at the top and bottom so you have two rows of holes. Weave ribbon through the holes and tie the ribbon to secure the cuff instead of using elastic.


Cuff Bracelet With Bells

Use the Leather Cuff instructions above to make your bracelet and then sew or glue bells, buttons or gems on until you have the cuff you want.


Water Bottle Wrap

Use the instructions above for Leather Cuff Bracelet to make a wrap for your water bottle.

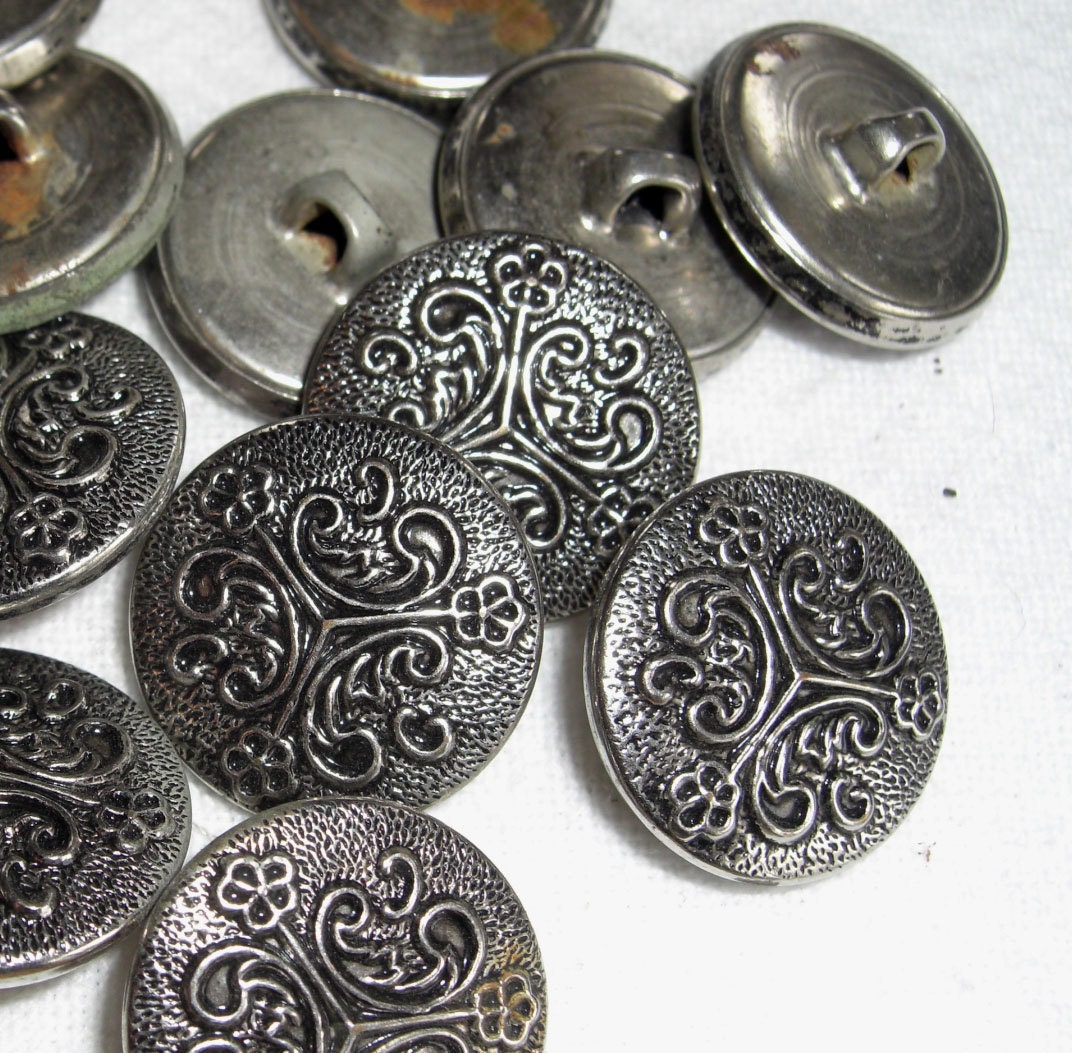
Variation: See Made By Lex’s water bottle wrap which she made from a piece of scrap leather. Her instructions can be adapted to work using an existing leather belt. I think I’ll start with the Leather Cuff Bracelet and glue on these ornate silver buttons.

I’ll start by cutting the shanks off then use my trusty E6000 to glue them to the cuff. I’ll post a pic when I’ve finished gluing.

Meanwhile – happy crafting!


Outdated Sunglass Cases

Since I’ve upgraded my sunglasses and they’re now all over-sized I’ve found that none of my sunglasses cases work with my new lenses. So I set out looking for some other ways I could put my old sunglasses cases to use.

Gym and Beach Jewelry Holder

Stash sunglasses cases in your gym and beach bags and you’ll have a safe place to stash your jewelry when you take it off to work out or hit the waves.

Can you believe there's a sunglasses case under this glitter?

Small Clutch

Grace over at Stripes and Sequins came up with an amazing idea for turning a sunglasses case into a small clutch purse.  Check out her step-by-step tutorial – I promise, it’s a lot easier than it looks. I love her choice of rose gold glitter for this project.


Small Craft Project Case

A sunglasses case is perfect for a small craft project such as friendship bracelets or beadwork.


Restaurant Entertainment

Stash some crayons and/or markers in a sunglass case and you’ll be prepared the next time you’re little one gets antsy at a restaurant. You can always ask the waitress for a piece of paper if you don’t have any with you.


That’s all I’ve got, but if you all think of any other ways to use old sunglasses cases please post in the Comments below.


Help – My Pictures Are Slipping!

Hi all! Amber – a new Irish Attic addict (self-described) pointed out to me that some of my pics are missing. I think it’s because I moved them around and forgot to change the links and I think I’ve fixed them all – but if you find some missing pics please send me an email at info (at) irishattic (dot) net and I’ll be glad to fix them. BTW – check out Amber’s thrifted outfits over on Smashion. She sells entire outfits for $15 or less!