Refashioned Belts

I have some belts that (sigh) no longer fit me, unless I want to turn them into ankle bracelets. I decided that it’s time to refashion them into something that I can wear now instead of dreaming of the day when they’ll once again fit around my waist. I’m a little brain dead tonight and not feeling creative but I’d still like to work with my hands. Solution? Head to the Internet for ideas.


Color Blocked  Belt

This is Kirsten wrapping her belt.


Wrap colored duct tape in sections around an old belt to create a color-blocked belt like Kristen did over at Glitter N Glue.

Leather Cuff Bracelet

This is not meant to be a biker style cuff, although if you want to use these instructions to make a biker style cuff I suppose you can use these instructions to do so. Measure the circumference of your wrist or measure an existing bracelet. Use scissors, an exacto knife or box cutter to cut a piece from your leather belt to that length. Glue a piece of elastic to the underside of the belt on both sides so that the cuff is all one piece. You can try on your cuff as soon as the glue dries.

Variations:

  • Use the instructions from the Color Blocked Belt to decorate your new cuff.
  • Use existing holes or punch holes in the leather in a line down the middle length or along the length at the top and bottom so you have two rows of holes. Weave ribbon through the holes and tie the ribbon to secure the cuff instead of using elastic.


Cuff Bracelet With Bells

Use the Leather Cuff instructions above to make your bracelet and then sew or glue bells, buttons or gems on until you have the cuff you want.


Water Bottle Wrap

Use the instructions above for Leather Cuff Bracelet to make a wrap for your water bottle.

Variation: See Made By Lex’s water bottle wrap which she made from a piece of scrap leather. Her instructions can be adapted to work using an existing leather belt. I think I’ll start with the Leather Cuff Bracelet and glue on these ornate silver buttons.

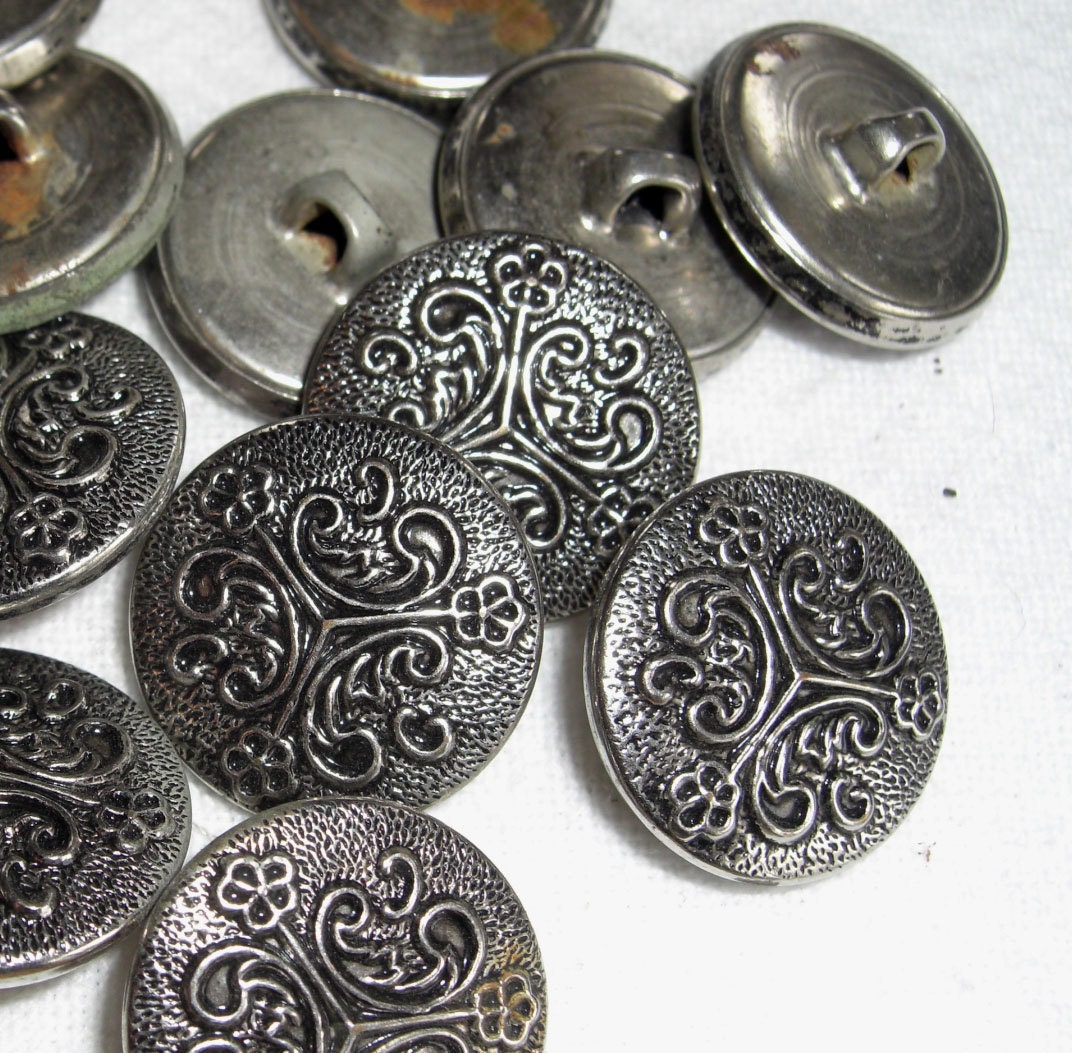
I’ll start by cutting the shanks off then use my trusty E6000 to glue them to the cuff. I’ll post a pic when I’ve finished gluing.

Meanwhile – happy crafting!


Frogs Gone Wild

Remember this refashion?

Refashioned Black Cable Knit Sweater

I’m a bit ashamed to admit that I cheated on this refashion. I pinned the frogs to the sweater to take the after pic. I kept meaning to sew them on but every time that I sat down with a needle and thread I thought of all the other fabulous things that I wanted to do with these unique frogs and just couldn’t consign them to a lifetime on the front of this sweater. Then it dawned on me! I could sew a couple of brooch pins on the back of each frog and then I could use them on whatever I wanted.

Wanna see how I’m using them now?


giving new life to a too tight sweater


on denim jacket


on a wrap skirt


closing up a too low neckline


fastening a scarf


jazzing up a plain sandal


decorating a velvet headband

Now go sew a brooch pin to something fun.


Drab Guess T-Shirt Brought To Life

Yes, I bought another olive green t-shirt. I seem to be drawn to this color, then I get it home and realize it’s kind of lifeless. Thank goodness I have lots of colorful t-shirts I can cut up to refashion into a garden party on the drab newcomers to my closet.

An almost exact replica of my before top.

Please don’t hate me – I forgot to take a before pic, but I did pay my penance by spending hours searching the Internet just to bring you all a before pic.

Awhile back I refashioned this top:

before

after - sorry for the blurry pic

Problem is I still don’t like the top. I wore it a couple of times just to justify the time I spent refashioning it and then it took a long vacation in the back of my closet. When I acquired this drab Guess t-shirt though I brought out my old refashion and started cutting out all the flowers and leaves on it. One movie marathon later and I had a huge pile of leaves and flowers, some of which I used for this project and some which I’ll use for a future project.

piles of flowers

I tried to use my sewing machine to stitch down all my flowers but I ended up with a gnarly mess, so hand stitching it is. One more movie marathon later and this is what I ended up with:

front

flowers creeping over my shoulder

I’m happy with my new t-shirt and don’t mind at all that I had to cannibalize another t-shirt to get it.


Striped Maxi Skirt

This refashioned skirt has become a wardrobe fave of mine. It’s just like pulling on a pair of jeans. With pattern mixing no longer on the nerd alert list the blue and white stripe pairs with almost everything.

Unfortunately this is one of those projects that I was so excited about doing that I started without snapping a before pic. I know, I know, one of these days I’ll get it together but I’ll offer up a similar pic to give you an idea.

Not me. Not my dress.

Cute dress but the bodice was much too small for me. I cut the bodice away from the skirt and was going to make a casing and insert elastic but I didn’t have any elastic on hand. Enter plain navy t-shirt.

Ad image

I cut the bottom off, 12 inches from the hem. I slipped it like a tube over the top of the skirt and safety pinned it to the skirt. Flipped the top of the tube over to create a yoga-style waistband. Tried it on to see if I would need to adjust the length of the skirt and it was a couple inches too long. Since the skirt had an existing slit I decided to cut a couple of inches from the top of the skirt and then stitched the waistband to the skirt using a zig-zag stitch so that it could stretch without breaking the thread.

And here’s the end result:

I wanted something cute and comfortable to wear to an afternoon at the Orange County Art Museum with a walk on Balboa Island and dinner at Mozambique. That’s asking a lot of one outfit but I think this skirt works just as well with a sweater and boots as it will later in the year with a summer top. Don’t ask what was going on off camera to warrant the expression on my face! I like this pic though because it shows the slit so I’m publishing it anyway.

I didn’t have time today to do this but I think I may use the  cups from the bodice as pockets on this skirt.

Happy crafting!