Blush Pink Slip

I’m not sure if I’ll move ahead with this refashion but I wanted to show you all one of the items on my drawing board. Maybe it will inspire you. This is simply a slip turned upside down so that the elastic waist is at the bottom and the bottom is at the top. I’m trying it as a one shoulder because I like how it drapes across the torso of my dress form this way. I’ve pinned a couple of pieces of lace to make wide straps.

modest top - "blush" is just the color of this one

Sometimes I go in spurts. Today is an “idea” day – maybe tomorrow will be a sewing day.


Happy refashioning!

Rebecca of Sunnybrook Farm Gets A Grown Up Makeover

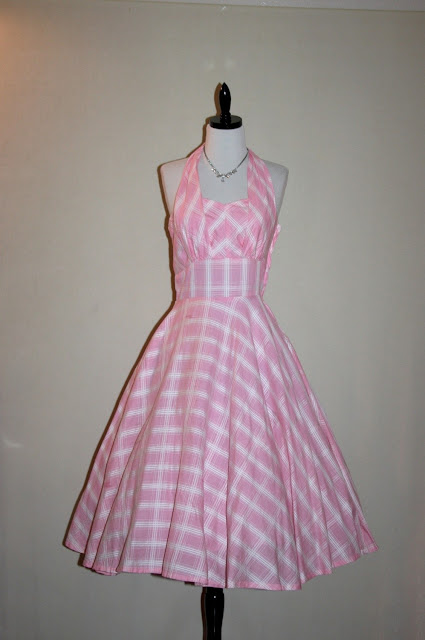
Once again I forgot to take the before pic. This is a similar dress with wider straps.


A friend gave me this little sundress because it had a light blue stain at the bottom of the skirt. She thought I’d slash off the skirt and make it into a cute top, but I had other ideas for this sundress that I didn’t tell her reminded me of something Rebecca of Sunnybrook Farm would wear. It had worked for her with her straight blonde hair, but me with my red curls would look like I’d just stepped off the farm.

I had a pair of little boys swim trunks that was covered with black velvet leaves and flowers. This was the choice for a little boys swim trunks? Go figure! That’s probably why I was able to pick them up for .25 at a garage sale. The little boy they were intended for probably refused to wear them, as any little boy would.

I bought them knowing that I would use the leaves and flowers on something so I had already started cutting them out and had a large pile of them by the time I was given this sundress. I popped the sundress on my dress form and started playing around with the velvet foliage.

My first thought was to use the velvet foliage to create a cap sleeve, but the velvet was too stiff to fall how I wanted it to. So I removed the flowers and covered the entire bodice area. But I didn’t like that either. In the end I decided to cover half of the bodice and wrap the foliage around the back of the dress to just peek out in front at the waist. Oh and I removed the little tie that formed a bow in the back. My theory is that once you can wear heels without falling over you’re too old to wear a dress with a bow in the back. I wanted to make this a zero-waste refashion so I used the ties to make straps for the top of the dress and snipped off a bit from the end of one tie to cover the blue stain at the bottom of the dress.

new bodice

sweet little tie-back - gotta go

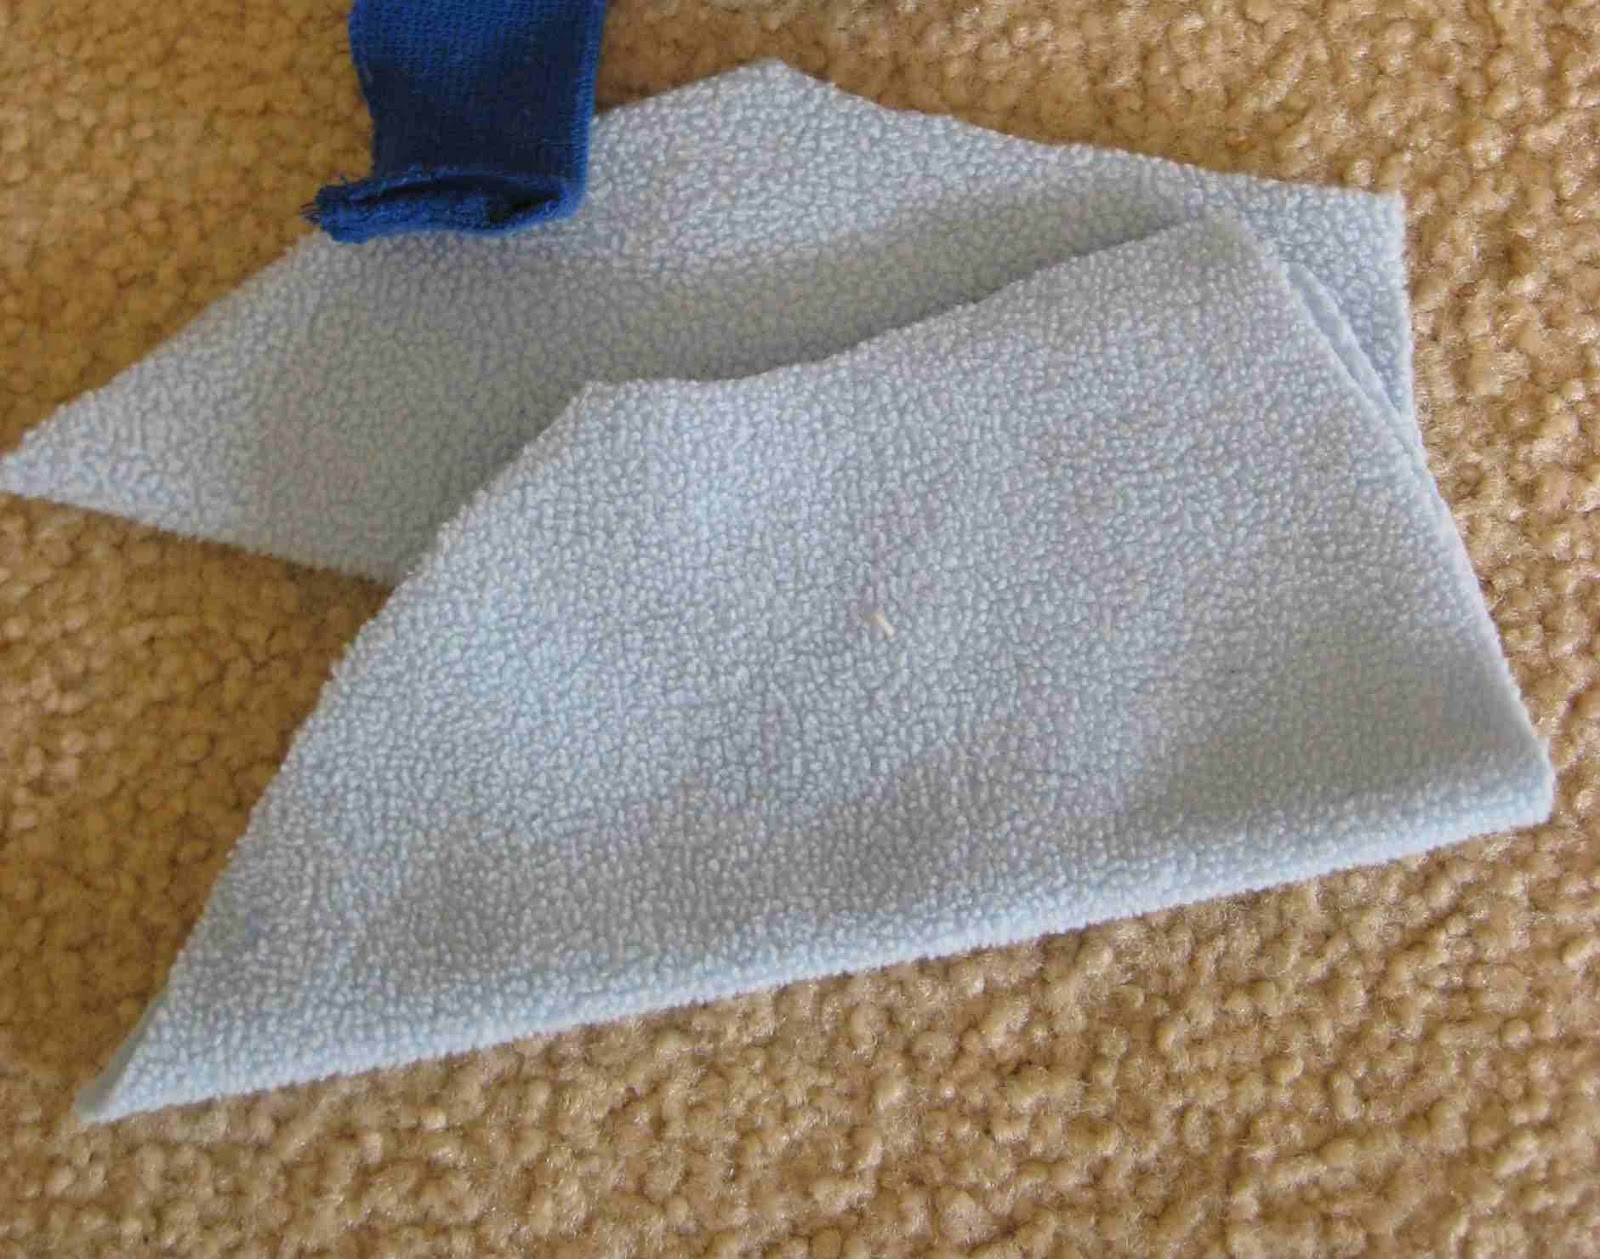
tie-back becomes new straps

After securing the new straps to the bodice I cut away the excess and unpicked this length of strap so that it was essentially a piece of bias tape. I needed this to cover the blue stain at the bottom of the dress.

hand stitched stain cover up

A quick bit of stitching to cover the blue stain and my new sundress is ready to wear.

Ooops! Stitched the front of the dress to the back of the dress while hand-sewing my patch.


Some quick action with a seam ripper and my dress is now ready to wear.

Check out lower left of dress - no more blue stain!


Quick Jeans Refashion

Hello,

I’m Nina Mia. This is my first post for Irish Attic and I’m very excited! 🙂 I love the idea of reusing and refashioning stuff.  I’ve never felt good about throwing out old clothes too. It’s so much funnier to get creative with them. That’s why today I would like to share with you a quick jeans refashion.

All I did was to cut the jeans short and stitch some white lace trim around the pockets. It’s very quick and very effective!

And this is the back.

I hope you’ll like it or get inspired to make your own. I’ll see you soon with more DIY tutorials! Have an amazing day!

xx

Nina Mia http://nina-mia.blogspot.co.uk/

Baby sleeping bag gets new life.


I love this project for a couple of reasons. Firstly it started off with a baby sleeping bag that has been worn by all four of my babies, so it has sentimental value. Secondly, I was able to make multiple projects from this tiny sleeping bag and use every available scrap of fabric. This is part of a 365 days of creativity challenge I am documenting at http://365crafty.blogspot.com. You can make this project using an old polar fleece sweater or jacket of your own or a childs size too.

Here is a photo of the sleeping bag – the size only fits up to about 4 months.

The sleeping bag


I wanted to make a modern version of a bootie and I love this pointed shape. I have used the two sleeves of the sleeping bag to cut out the shoes in the shape below, and then simply sew along the left and right sides.


Boots ready to be sewn

I was going to use the reclaimed ribbing in the photo for the top edge but decided to cut the top off an old pair of toddler socks instead. I will use the rest of the sock to make a sock owl in a future project.


Socks - these are a 12 month old size

Next I cut off a half moon shape from the bottom of the bag to make a matching baby hat. I used a few scraps to put some tassels on top and incorporated the back seam of the sleeping bag into the design so I wouldn’t waste any fabric. The ribbing on the bottom of the hat is a cut up baby ribbed singlet.

Here are the hat and booties.

Hat and booties

And again modelled by my 4 1/2 month old.


Dylan in hat and boots


I still had a good portion of the body of the bag left so I made a little zipper vest for a toddler. I simply cut off the bottom scraps of the bag, cut the armholes a bit larger to allow for a larger sized child, and hemmed both the armholes and the bottom.


Here it is below.


Aidan models the vest


The vest


Vest


You can read more about what I am doing this year at http://365crafty.blogspot.com.