
Before
I love this t-shirt even though it has always been too small and too short for me. I picked it up at a garage sale assuming since I was eating healthier I would soon fit into it. Not so. Not even close. But I had an idea that would make this t-shirt not only wearable but cuter than the original. I started by going through my scarf collection, looking for one that would work with this t-shirt. My goal wasn’t so much to match it as to find a scarf that I would wear with this shirt. If you don’t have a scarf that works for your project you could use another t-shirt, light-weight knit, light-weight cotton or even a piece of lace.
First step – cut away the back of the t-shirt in a straight line from the bottom of the sleeve opening and down each side seam. I cut just inside the seam on the back and then cut away the serged seam from the front so that I would have a piece I could use as trim if I needed it. Be VERY careful not to cut through the front of the t-shirt. I mention this because I’ve done it before. I’ve always been able to salvage my mistakes by reworking the original design but since this shirt was already a bit small it would be more difficult to correct an error like that and besides I didn’t want the extra work. I wanted to keep this refashion relatively simple.

template for new back of top

the third triangle is a fifth wheel in this refashion
Second Step – cut the back piece that’s been liberated from the shirt into 3 triangles. Use the two triangles that are the same size and sew them to the side seams of the front of your shirt. These triangles along with the new back will turn a fitted top into a trapeze style top. Add the middle triangle to your scrap pile. You may find a use for it in another refashion.
Third Step – sew the scarf to the back of the shirt on all three sides. You may need to trim, gather or otherwise manipulate your scarf to make it fit or to get the fit that you want. I generally choose to gather rather than trim because I’m afraid that once I cut something away I’ll find I regret it and it’s a lot harder to fix a mistake like that than to simply remove the stitches from a gather. Plus I like the detailing that gathering gives. You can see how I gathered the lower sides of the scarf in the larger picture of the back of the finished shirt.
Third Step Note – my scarf wasn’t wide enough to fit from the top seam to the bottom hem so I cut a portion from the length of the scarf and stitched it to the scarf to create a piece large enough for what I wanted to do with it. You can see this seam in the close up of the back of the shirt.
Fourth Step – After trying the shirt on I felt like the sleeves needed to step it up a bit to fit in so I used pieces from the scarf to trim them.
Then it’s off to the stables where I found a stable-hand to take some pics of my new t-shirt.


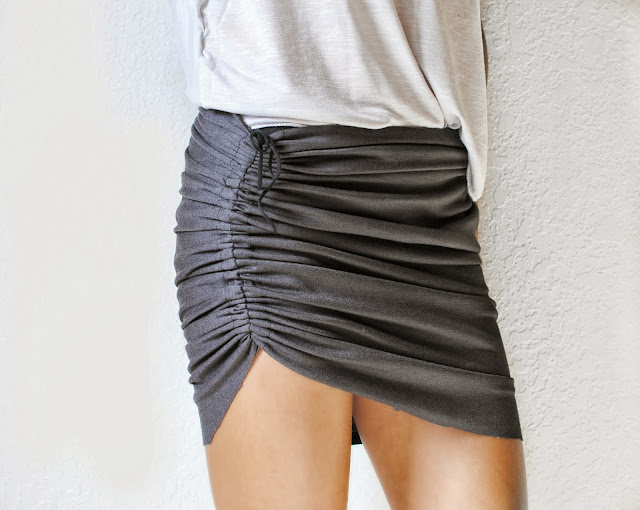 If all you have is a t-shirt and all you want is a new skirt, then you’re in luck because Lauren has a tutorial for you. If you want a longer skirt either use a bigger t-shirt or stitch a couple of t-shirts together into a tube and then follow her tute for ruching a t-shirt skirt.


 I’m always on the lookout for a good button down shirt refashion. And when I find one that’s made out of a soft jersey, well SCORE! Thanks So Zoe for this


